ROS Note | Install and Launch First ROS2 Program
ROS2 is expected to become mature and fully replace ROS1 by 2023.
- ROS2
FoxyVersion released in June 2020 is mature and contain several advanced features (EOL: May 2023) - ROS2
GalacticVersion relased in May 2021, but EOL date is Nov 2022
ROS2 provides a standard for Robotic Applications
- any robots can be powered by ROS2
ROS2 provides a way of separating code into reusable blocks
- along with a set of communication tools between programs
- “Plug and Play” Libraries => prevent us from reinventing the wheel
1. Installation
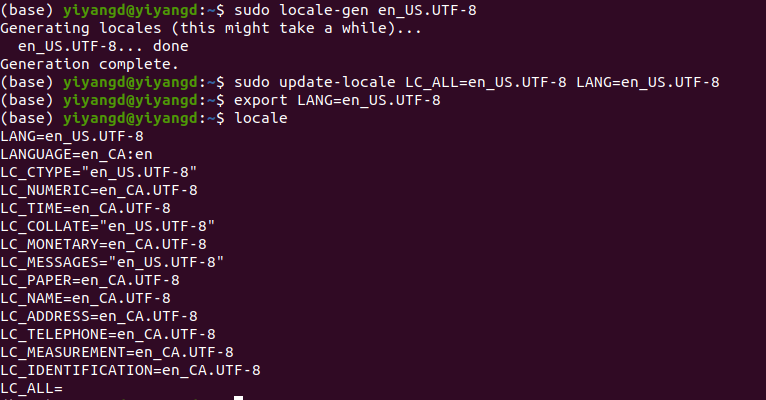
1.1. Setup Locale
|
|
1.2. Setup Sources
You will need to add the ROS 2 apt repositories to your system. To do so, first authorize our GPG key with apt like this:
|
|
And then add the repository to your sources list:
|
|
1.3. Install ROS 2 Packages
Update your apt repository caches after setting up the repositories.
|
|
Desktop Install (Recommended): ROS, RViz, demos, tutorials.
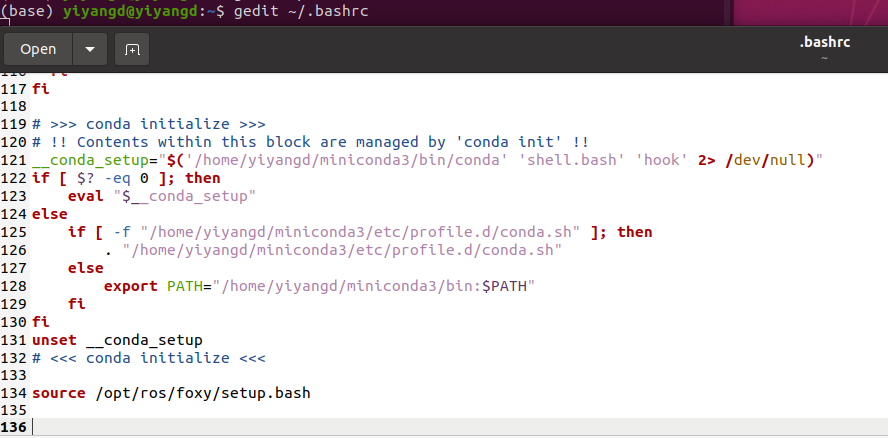
- Sourcing the setup script automatically
sourceis used to refresh the current shell environment by running the bashrc file.- it can also be used in order to import functions into other bash scripts or to run scripts into the current shell environment.
|
|
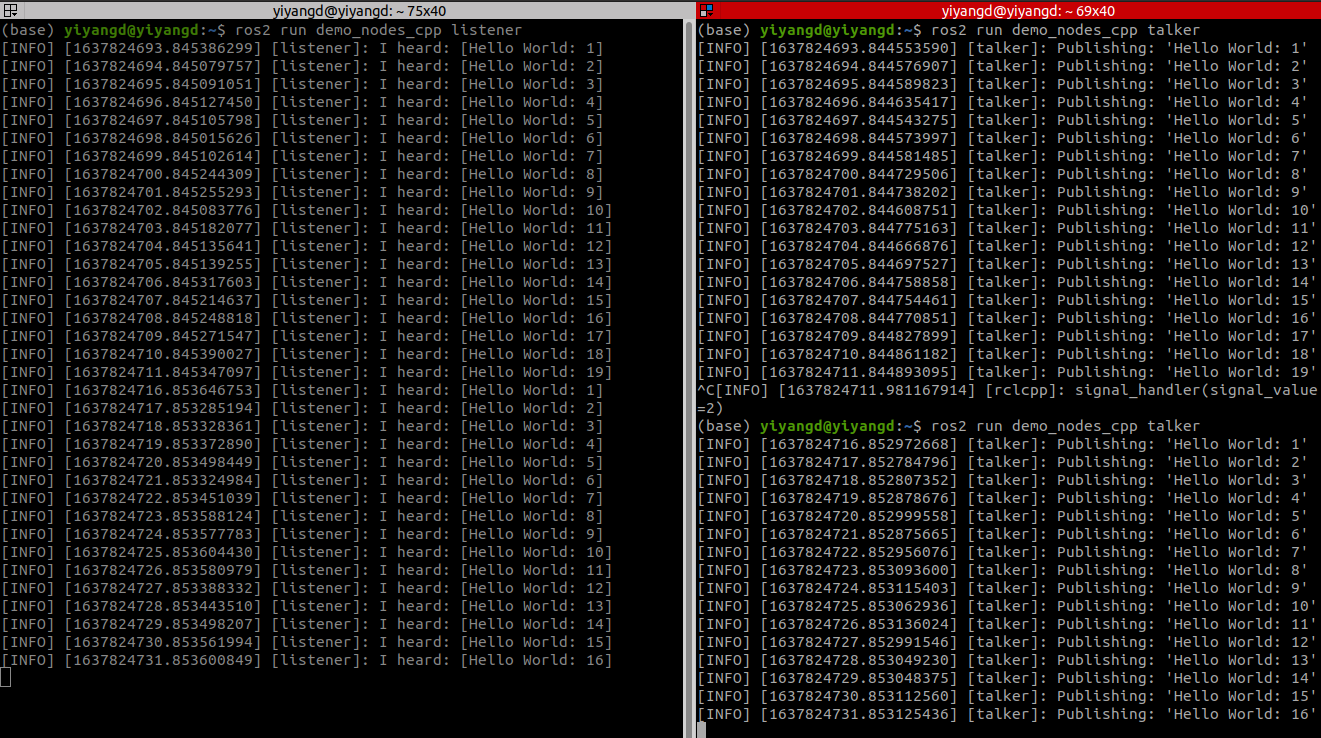
To check if we have installed sucessfully, we launch an existing example
|
|
2. Write and Launch the First ROS2 Program
2.1. Install the ROS2 Build Tool - Colcon
|
|
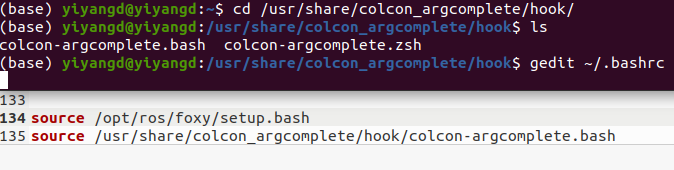
Source the argcomplete feature:
2.2. Create a ROS2 Workspace
|
|
Add source ~/ros2_workspace/install/setup.bash via gedit .bashrc
2.3. Create a Python Package
A package can be considered a container for your ROS 2 code.
- If you want to be able to
installyour code orshareit with others, then you’ll need it organized in a package. - With packages, you can release your ROS 2 work and allow others to build and use it easily.
Package creation in ROS 2 uses ament as its build system and colcon as its build tool.
- You can create a package using either
CMakeorPython, which are officially supported
|
|
Build packages in a workspace is especially valuable because you can build many packages at once by running colcon build in the workspace root.
- Otherwise, you would have to build each package individually.
|
|
2.4. Write a Python Node
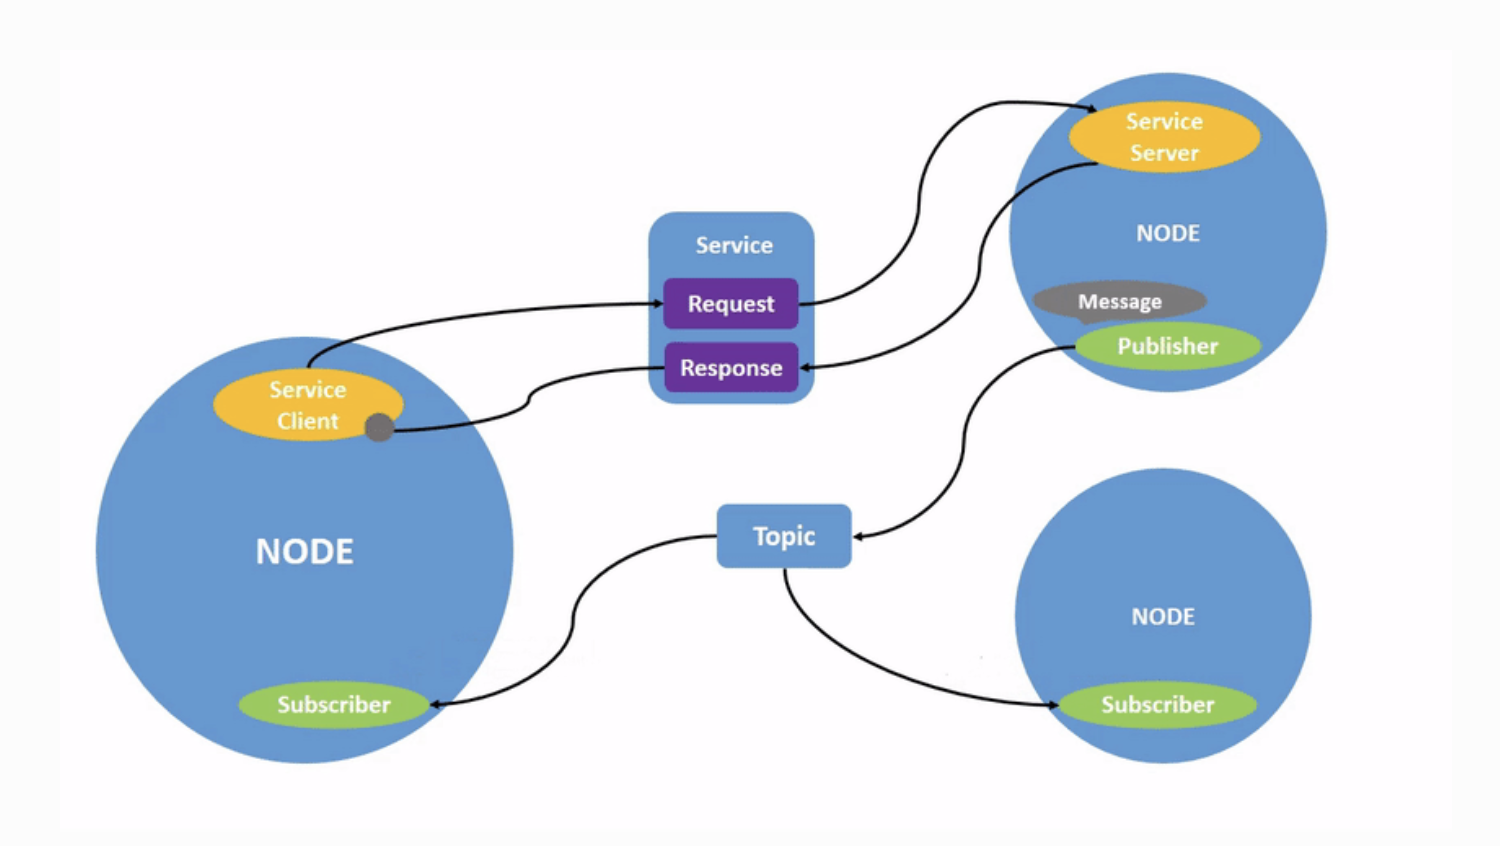
ROS2 Node
Each node in ROS Network should be responsible for a single, module purpose
- e.g. one node for controlling wheel motors, one node for controlling a laser range-finder, etc.
- Each node can send and receive data to other nodes via topics, services, actions, or parameters.
- A full robotic system is comprised of many nodes working in concert.
- In ROS 2, a single executable (C++/Python program..) can contain one or more nodes.
Benefits:
- Reduce Code Complexity
- Fault Tolerance
- if one node crashes, it will NOT make the other nodes crash
Minimal Code
Create a new python file by touch
|
|
In my_first_node.py
rcl: ROS Client Library
|
|
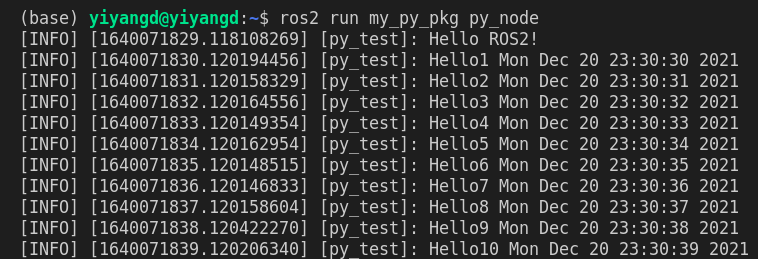
Execuate the Python Program
|
|
Install the Excutable Node
- specify the executable name in
setup.py
|
|
Then build again, before Executing ./py_node, source the workspace
|
|
The command ros2 run launches an executable from a package
|
|
Improve the Code Structure with OOP
Add a timer_callback functions
|
|
Output:
Reference:
[1]https://docs.ros.org/en/foxy/Installation/Ubuntu-Install-Debians.html#
[2]https://docs.ros.org/en/foxy/Tutorials/Workspace/Creating-A-Workspace.html
[3]https://docs.ros.org/en/foxy/Tutorials/Creating-Your-First-ROS2-Package.html
[4]https://docs.ros.org/en/foxy/Tutorials/Understanding-ROS2-Nodes.html